A mattress for 18 inch dolls beauty sleep.
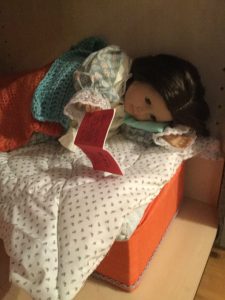
My doll
Is reading
Before bed.
My doll has lots of wonderful friends.
But what better way to get to know her friends then to have a slumber party?
In the past, my dolls have had lots of slumber parties, but when it is finally time for them to hit the hay, they don’t have a good mattress to sleep on.
This past Christmas, my mom made my little sister, Willow, a mattress for her doll.
And my mom said that the mattress was really easy and fun to make!
She also said that she would be happy to help me make one for my doll if I would like that.
Of course I would, so that is what we did.
Supplies Needed:
1: Thread
2: Sewing Machine
3: Scissors
4: Fabric
5: Foam
6: Highlighter
7: And a doll
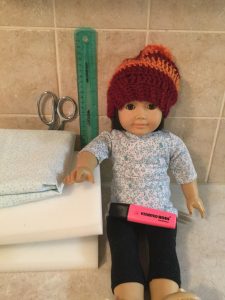
The supplies
That I used
For this project.
Now don’t worry, there are only 13 steps to make this mattress and most of them are pretty easy.
Step one: Choose your fabric. You will need a little more than twice the total size of your bed size.
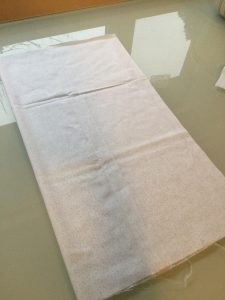
My fabric that
I wanted to use
For this project.
Step two: Measure your foam with a highlighter. I marked in three places so that it was easy to get a straight line.
Because I was using thinner foam, I cut two pieces to make a thicker mattress. My total dimensions are 50cm long by 25 cm wide which is about perfect for a girl like an American Girl doll. My finished depth once both pieces were put together is 3.5cm. (In inches, the dimensions should be Length-20 inches, Width- 10inches, Depth-1.5 inches)
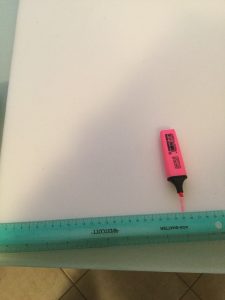
I am measuring my
Foam with a ruler
And highlighter.
Step three: Cut your foam.
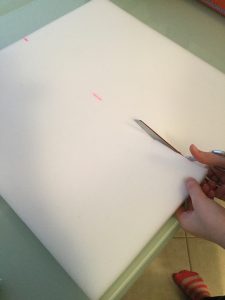
I am cutting my foam.
Step four: Fold your fabric in half, then place your foam top of it leaving at least a 2 inch edge all the way around. I just cut it without making marks, but you could mark that out first if you wanted to.

My fabric that
I folded in
Half.
Step five: Use a highlighter to mark roughly one inch away from the fabric you just cut, make marks for you to sew on like I did below. I don’t know how well you can tell from the picture, but one side is folded so we don’t need to sew along that edge. One long edge and one short edge we are sewing up. The remaining short edge we are only sewing about 2.5 inches in on each side. This will allow you to turn the fabric inside out and put the foam inside when you are done.
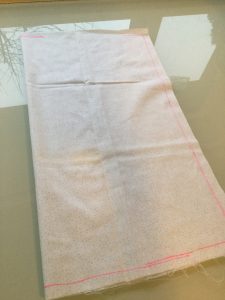
I am highlighting the marks for my mattress.
Step six: Lets get started with your sewing machine. This is the easy part. All you have to do is sew over your highlighted lines you just made.
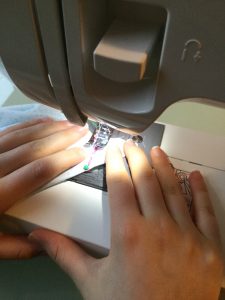
I am sewing
My highlighter marks
That I pinned.
Step seven: Now you will pull all four corners flat.
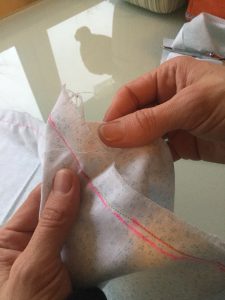
I am pulling the ends of the fabric
Flat.
Step eight:Grab your ruler, its about 4 cm on a ruler. Put the ruler onto your corner that you flattened and trace with a highlighte going straight across the seam you made. You are making a triangle.
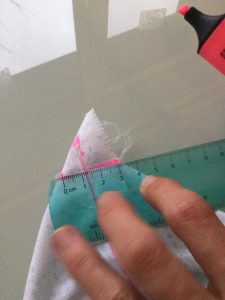
I am highlighting 4 cm
With a ruler.
Step nine: Now pin in a pin and sew over all four of your edges. One at a time. This is making what we call, “box corners”!

I am sewing over the four corners.
Step ten: Now you will grab your scissors and snip a little above the four corners. You are just getting rid of excess fabric so that it will lay nice when you flip it inside out.
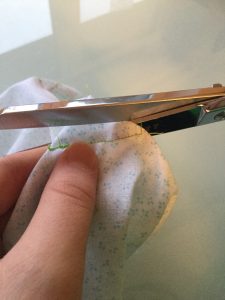
I am cutting the top
Above the sewing
marks I made.
Now fold your mattress cover inside right.
Step eleven: WE ARE ALMOST DONE!!!! We are close to victory! This next step is probably the easiest step there is. All we need to do is to fold your foam in half and put it into your mattress cover. This takes a little bit of work to wiggle it it, but you can do it.
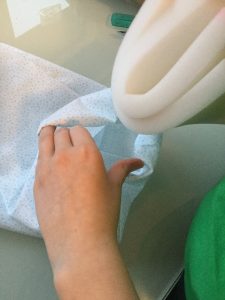
I am putting my mattress
Cover over my foam.
Step twelve: Now fold your ends of your mattress in.
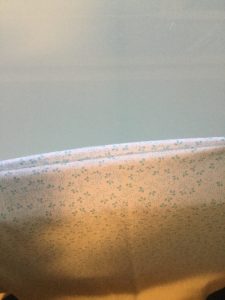
I am folding my ends.
THE LAST STEP: Sew your folded edges up with a needle and some thread.
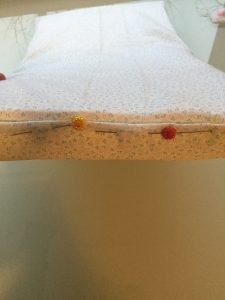
I am sewing my end up with a needle and some thread.
I like this mattress because my doll can have her beauty sleep.
I also like that it was fun and easy to make.
This is a perfect mattress for my dolls house because I get to style the mattress. I can make it fit the style that I have for her house.
I am forever in love with how it turned out.
AND NOW LET THE SLUMBER PARTY BEGIN!!!!!!!!!!!!!!!!!!
I hope your doll gets lots of good sleep.
This craft was enjoyable for me to make with my mom. I hope you have as much fun as I did making it.
Since I have made this mattress with my mom, my doll has had the best sleep ever.