Our Generation Doll
Me and my sister both got Our Generation dolls for Christmas a year ago.
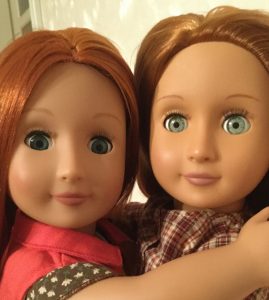
Our dolls are best friends forever.
I was very excited. The real names of our dolls are Peyton and April. My doll is Peyton and my sister, Willow, got April.
My sister is 3 now, but when she got April she was two. April is a good quality doll. She has lasted my sister for a whole year and is still intact.
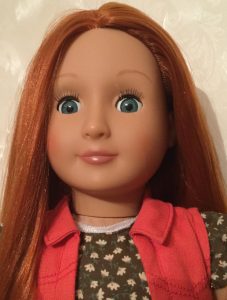
My sisters doll April.
Me and Peyton (my doll) have cherished every fun time we have had together.
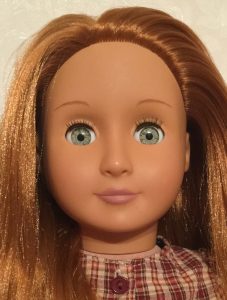
My doll Peyton.
I had really gotten into doing my own hair. So my mom and dad thought that I would like a doll with long hair that I could practice on.
They got me Peyton for Christmas. Peyton is a perfect doll for me because she has hair all the way down to her ankles.
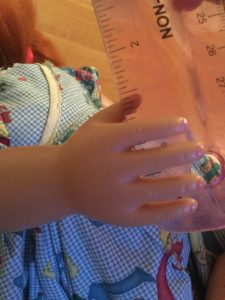
There is one thing that I don’t like about this doll. She has a button that you can wind up and it pokes out on the lower part of her back. This button allows you to lengthen or shorten a small section of her hair from the tip middle of her head.
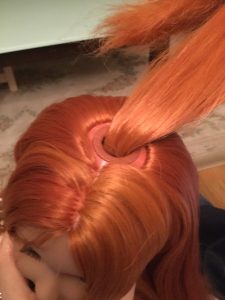
A little piece of hair that can go short or long.
It limits her outfits that she can wear as some shirts and skirts get caught on this button.
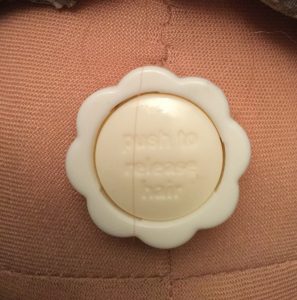
Her button on her back
It mainly affects skirts, pants and shirts. Which is just about every thing a doll can wear, except for dresses. But it is not that bad if you don’t mind having a plastic button poking out of her.
I still love my doll and cherish every moment. I actually have two dolls, an American Girl doll and Our Generation doll.
Don’t think that America Girl dolls are the same as Our generation dolls because they aren’t at all the same. Though they do have many similarities like being 18 inches with plastic arms, legs, and heads.
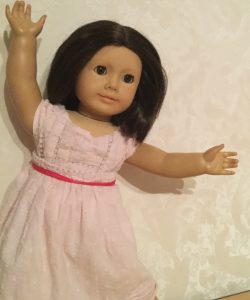
My beloved doll Cristy.
An American Girl doll is fatter then an Our generation ( O.G.) doll. And it has soft eye lashes.
Our generation dolls have a skinny body and slightly curved arms compared to American Girl ( A.G.) dolls.
I like both of my dolls and have fun playing with both of them.
Dolls with Long Hair are Awesome!
Over the years I have wanted long hair, but as you know it takes a while to get long hair.
I dreaded having to wait to have long hair. But then in the mall they finally got a doll store. I was so exited that I wanted to go immediately.
When the day came that we finally went to this new doll store I walked in and there she was, staring right at me, the most beautiful doll with very, very long red hair and sea blue eyes.
My doll Peyton.
Christmas was coming and that’s what I really wanted. Then on Christmas Day I got this big box. I tore off the wrapping paper and there she was, Peyton.
I took her out of the box. Her long silky beautiful hair lay gently on her back.
That day I played with her for a long time. Then the time came for me to put her to bed.
Our dolls are best friends forever.
I have had lots of fun with her to this day. Her long hair lets you have your own hair salon at your own house.
Because of her long hair you can do just about every hair style there is in the book as long as you have the skill or desire to learn.
I think that long hair is the best on dolls because there is no limit to their hair.
This doll has opened some imagination with hair I didn’t think I ever had.
For example, crocheting hair and weaving her beautiful hair and lots more. This doll is the one that inspired me to learn how to do a Dutch braid and Fishtail braid. I have learned unique skills to become better with hair.
But if you have an Our Generation doll with clumpy hair you can’t seem to get untangled, you can use lotion and warm water and a brush. With some gentle, persistent work she can look good as new in no time.
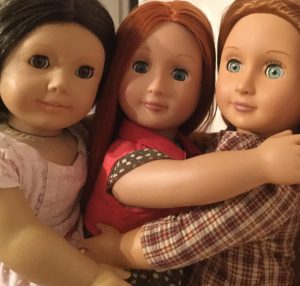
Our dolls Peyton,Cristy, and April