A few months ago, as I was getting back to school supplies, I was also thinking about how to make back to school supplies for my American Girl (AG) doll.
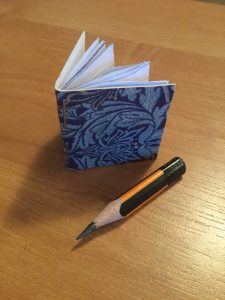
I thought maybe there would be a way to make school books for my doll without having spend any money.
I looked into the crafting supplies we had.
We had plenty of paper.
After thinking for a few minutes, I realized all I really needed was a little paper, scissors, a stapler, a ruler, and a pencil.
The final look depends on the paper you use for your cover so if you want a bright and flashy book, you’re going to need some bright and flashy paper.
The inside is a bit different.
If you want a school notebook then just use lined notebook paper or if you want it to be a drawing notebook then use plain copy paper.
Supplies Needed:
1 piece of card stock paper
1 piece of notebook paper or copy paper
Stapler
Ruler
Pencil
The first step in making the notebook cover is to measure your dolls hand from her thumb to her pinky. You can see from my doll it is about 1.5 inches.
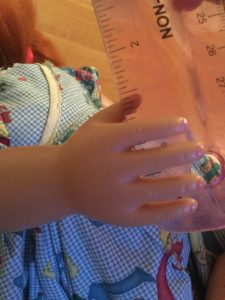
Measuring my dolls hand
On the back side of your pretty card stock paper use a pencil and a ruler to measure and mark 1.5 inches from the edge in two places about 1- 2 inches apart. With a pencil draw a line along the edge of your ruler after lining it up on your two marks. Don’t cut anything yet, you have one more line to measure first!
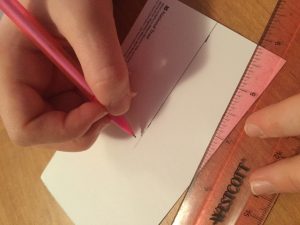
Marking my measurements.
Now to get the other measurement you simply double the first. In our case this means we need 3 inches. So now from the other edge of the paper, measure 3 inches and mark with your pencil. Again, make a second 3 inch mark. Use your marks to draw a straight line with your pencil and ruler. You are now ready to cut out your cover. Simply cut along the lines you have drawn.
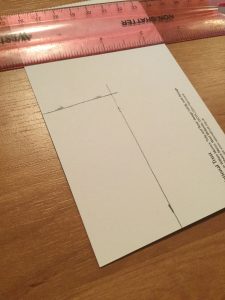
I am all ready to cut out my notebook cover.
Mine looks like this.
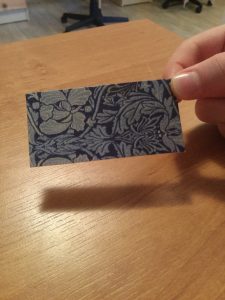
My cutout cover for my doll school notebook.
Now to make the inside pages you will use the same technique only you want the inside pages to be just slightly smaller. So I just cut mine slightly less than 3 inches long. I use 2 7/8th of an inch. I know that sounds a little technical, so if it works better for you then just “eye-ball” it and cut a little less. One easy way to do this is to simply use your cover as a pattern to trace your other pages and when you go to cut them out just cut them back a little bit. You will want 5-7 pages for your notebook. For this one I used 5. When you fold them over you get double the amount. My finished notebook will be 10 pages plus the cover.
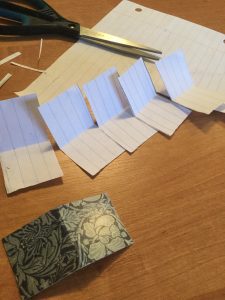
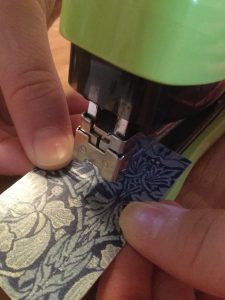
Line up your inner pages and fold them in half. Now get your cover and fold it in half. Put the two together lining them up on the folded lines. Keeping them open to the middle, but face down put two staples, one on each edge.
Sometimes the finished edges still don’t look smooth since I cut them all out by hand. I remedy this by using my scissors to cut off any rough edges at the very end.
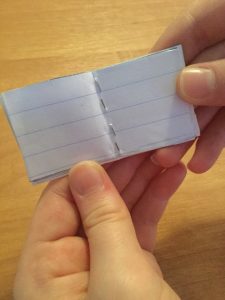
You have just completed your first doll notebook! Hooray! Wasn’t that fun? I love making them. When I make them I usually cut out several at the same time.
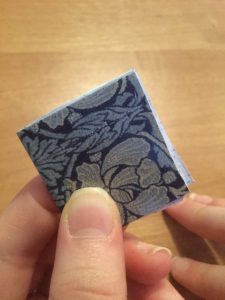
Now that you have a notebook for your doll maybe you would like a pencil to go with it. Do you have a pencil that you can’t write with because it’s too short and you are ready to pitch it in the trash……WAIT! Don’t throw that pencil away. Use the pencil for your doll. Just sharpen it up a little….in other words, grind it down until it is small enough to be perfect for your doll. Now you’re really done and it’s just perfect.
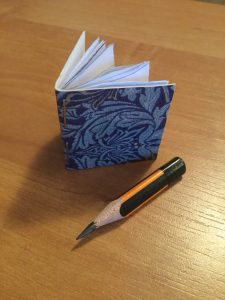
My finished touches of my doll notebook.
I hope you have as much fun making this notebook as I have. My doll loves her new notebook.
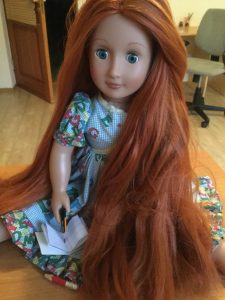
My doll all ready for school.
Happy Crafting!