Valentine’s Crochet Necklace and Bracelet.
I had just been given some Valentine’s beads and wanted to put them to use.
I decided that I would make a Bracelet and Necklace.
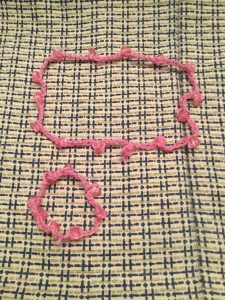
My Bracelet and Necklace.
The first thing you need to do is choose your beads.
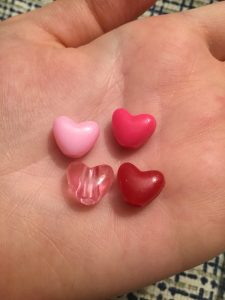
My beads that I had to choose from..
I used bead hearts and pink yarn.
All my supplies I used were:
One: crochet hook
Two: heart beads
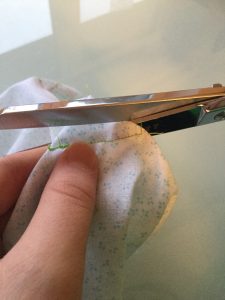
Three: scissors
Four : yarn
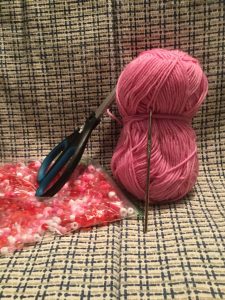
These are the suplies I used.
LETS GET STARTED!!!!!
Make a slip knot first.
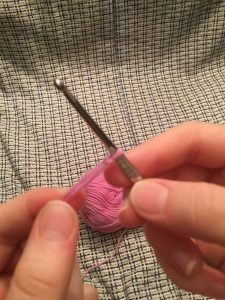
This is my slip knot.
Now do as many chain stitches as you want.
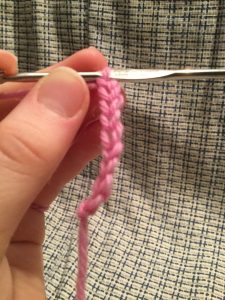
These are my chain stiches.
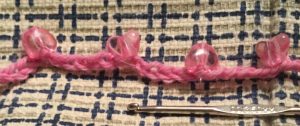
Next you are going to want to put your bead onto your hook and do a slip stitch.
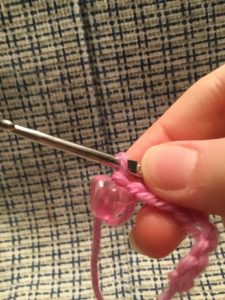
This is my slipstitch with bead on it.
Now every four stitches just add a bead until you have your desired length.
Now that you are finished with your desired length,you are going to want to grab your end and do a chain stitch but this time you need to do a slip stitch.
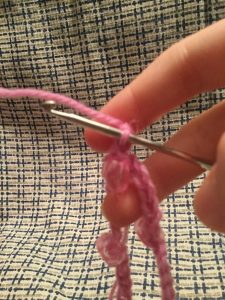
I have grabbed my ends and
did a slip stitch.
Now to make the bracelet just do all the measurements but this time do all of them smaller to fit your wrist.
I love this necklace and bracelet because it is quick, but so fun.
My Bracelet and Necklace.
I can make them in a matter of minutes and you can too.